For a recent project, I had to use Chromedriver.exe to perform some scraping-tasks with Selenium.
The project runs on an IIS on a hosted server, which means I can use Chromedriver.exe – something that is not possible on Azure WebApp.
Including Chromedriver.exe in your project
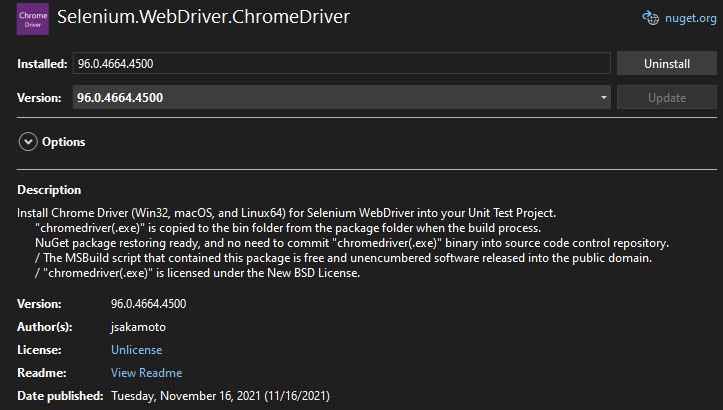
Install the NuGet package Selenium.WebDriver.ChromeDriver
When you now build the project, Chromedriver.exe will be copied to the output directory. Great!
Including it in dotnet publish – for CI/CD pipeline
However, to make it work in a CI/CD pipeline on Azure Devops, we need Chromedriver.exe to be copied during dotnet publish as well.
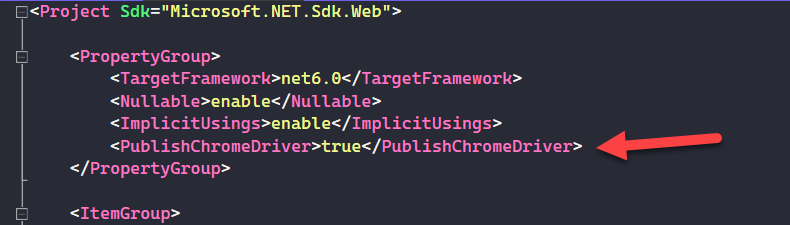
Open the .csproj file of the ASP.Net web project, you want to use Chromedriver.exe from
Find PropertyGroup
Add a line: <PublishChromeDriver>true</PublishChromeDriver>
That’s it! It will now be including when publishing, which means Azure Devops will include it in the drop – and the Release pipeline will copy it to your destination with the rest of the website!
These days, I typically use something like cloudflare to deal with redirecting one site to another – but sometimes a client is not using a DNS provider, where that is possible – and I have to turn back to good old IIS to get the job done.
What do we want to accomplish?
Any request to a site should result in redirection to another site
Redirect should be permanent (http status code 301)
We need to use IIS to do it
Solution 1 – Using IIS Manager
Create a site and configure bindings, so it responds to the domain, port etc, that you want to redirect FROM (outside the scope of this post)
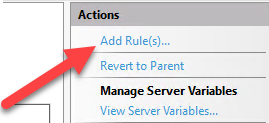
Add a page rule by clicking your site => URL Rewrite
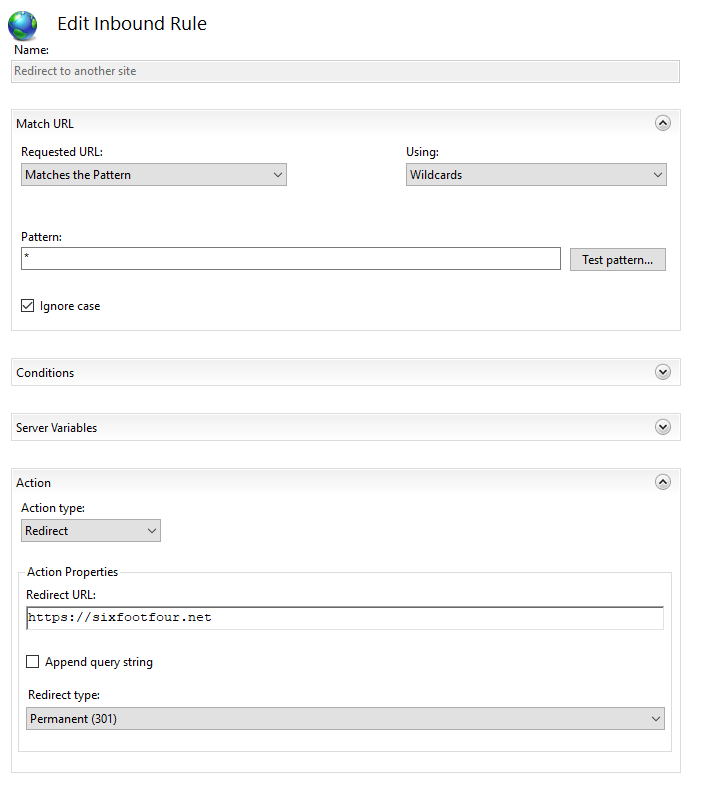
Configure the rewrite rule like this:This rule basically contains…:
– match ANY url that hits this website
– redirect it to the redirect url
Solution 2 – using web.config
If you don’t want to use the IIS manager, you can just drop a web.config into the redirect site like this:
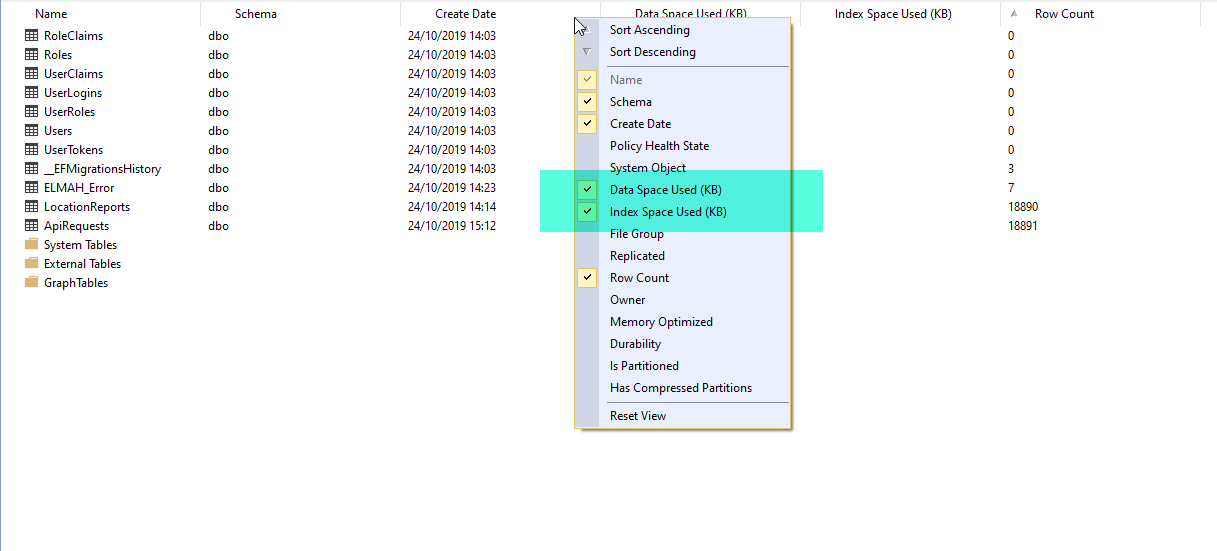
Some things in SQL Server Management Studio just seem wonky, when you are dealing with Azure databases. You used to be able to just select a database from the tree – and then Select View > Object Expolorer Details (shortcut F7) – and then add the columns Data Space Used and Index Space Used…
View => Object Explorer Details => Right click column headers => Select Data Space Used and Index Space Used
However, that does not work any more when using SQL Server Azure – or at least it does not always work. The columns remain empty.
But we have T-SQL and we are smart (which means we know how to google and look for great answers – a skill that cannot possibly be overestimated!).
So let’s query some system tables and get at that info!
SELECT
    a2.name AS TableName,
    a1.rows as [RowCount],
    CAST(ROUND(((a1.reserved + ISNULL(a4.reserved,0)) * 8) / 1024.00, 2) AS NUMERIC(36, 2)) AS ReservedSize_MB,
    CAST(ROUND(a1.data * 8 / 1024.00, 2) AS NUMERIC(36, 2)) AS DataSize_MB,
    CAST(ROUND((CASE WHEN (a1.used + ISNULL(a4.used,0)) > a1.data THEN (a1.used + ISNULL(a4.used,0)) - a1.data ELSE 0 END) * 8 / 1024.00, 2) AS NUMERIC(36, 2)) AS IndexSize_MB,
    CAST(ROUND((CASE WHEN (a1.reserved + ISNULL(a4.reserved,0)) > a1.used THEN (a1.reserved + ISNULL(a4.reserved,0)) - a1.used ELSE 0 END) * 8 / 1024.00, 2) AS NUMERIC(36, 2)) AS UnusedSize_MB,
    CAST(ROUND(((a1.reserved + ISNULL(a4.reserved,0)) * 8) / 1024.00 / 1024.00, 2) AS NUMERIC(36, 2)) AS ReservedSize_GB,
    CAST(ROUND(a1.data * 8 / 1024.00 / 1024.00, 2) AS NUMERIC(36, 2)) AS DataSize_GB,
    CAST(ROUND((CASE WHEN (a1.used + ISNULL(a4.used,0)) > a1.data THEN (a1.used + ISNULL(a4.used,0)) - a1.data ELSE 0 END) * 8 / 1024.00 / 1024.00, 2) AS NUMERIC(36, 2)) AS IndexSize_GB,
    CAST(ROUND((CASE WHEN (a1.reserved + ISNULL(a4.reserved,0)) > a1.used THEN (a1.reserved + ISNULL(a4.reserved,0)) - a1.used ELSE 0 END) * 8 / 1024.00 / 1024.00, 2) AS NUMERIC(36, 2)) AS UnusedSize_GB
FROM
    (SELECT
        ps.object_id,
        SUM (CASE WHEN (ps.index_id < 2) THEN row_count ELSE 0 END) AS [rows],
        SUM (ps.reserved_page_count) AS reserved,
        SUM (CASE
                WHEN (ps.index_id < 2) THEN (ps.in_row_data_page_count + ps.lob_used_page_count + ps.row_overflow_used_page_count)
                ELSE (ps.lob_used_page_count + ps.row_overflow_used_page_count)
            END
            ) AS data,
        SUM (ps.used_page_count) AS used
    FROM sys.dm_db_partition_stats ps
        --===Remove the following comment for SQL Server 2014+
        --WHERE ps.object_id NOT IN (SELECT object_id FROM sys.tables WHERE is_memory_optimized = 1)
    GROUP BY ps.object_id) AS a1
LEFT OUTER JOIN
    (SELECT
        it.parent_id,
        SUM(ps.reserved_page_count) AS reserved,
        SUM(ps.used_page_count) AS used
     FROM sys.dm_db_partition_stats ps
     INNER JOIN sys.internal_tables it ON (it.object_id = ps.object_id)
     WHERE it.internal_type IN (202,204)
     GROUP BY it.parent_id) AS a4 ON (a4.parent_id = a1.object_id)
INNER JOIN sys.all_objects a2  ON ( a1.object_id = a2.object_id )
INNER JOIN sys.schemas a3 ON (a2.schema_id = a3.schema_id)
WHERE a2.type <> N'S' and a2.type <> N'IT'
--AND a2.name = 'MyTable'       --Filter for specific table
ORDER BY ReservedSize_MB DESC
The code is not written by me, but by Santhoshkumar KB in a thread about this topic over on stack overflow. It is not the highest rated answer – but it is my favorite. I made a couple of very minor changes, but credit coes to the author.
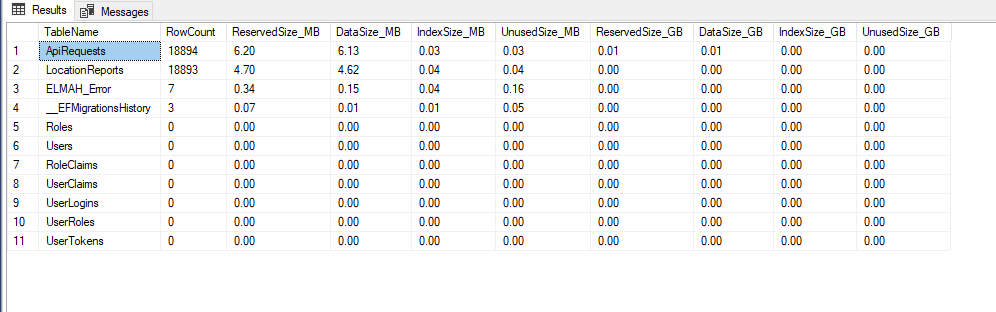
Output is a nicely formatted resultset of tables, rows and size used on disk, split on indexes, unused and used data space
That is it. This always works, regardless of wonky SSMS versions vs. wonky SQL Server versions on or off Azure.
Have been dealing with Snapchat API for the past few days, and boy is that a terrible API to work with…
When querying the Campaign stats endpoint and want to get stats on a day level, you need to specify start_date and end_date. That makes sense. It also specifies date format should follow ISO 8601. That is the only sane date format in the world, so great!
I could take you through my frustrating journey of trial and error, talk about how stupid the date handling is, but let’s skip that part and get straight to the solution.
Use ISO 8601 date/time format INCLUDING time zone information (and url encode your values)
That format looks like this, with date, time and timezone.
2018-10-15T00:00:00+01:00
You need to URL encode it though, or else…
2018-10-15T00%3A00%3A00%2B01%3A00
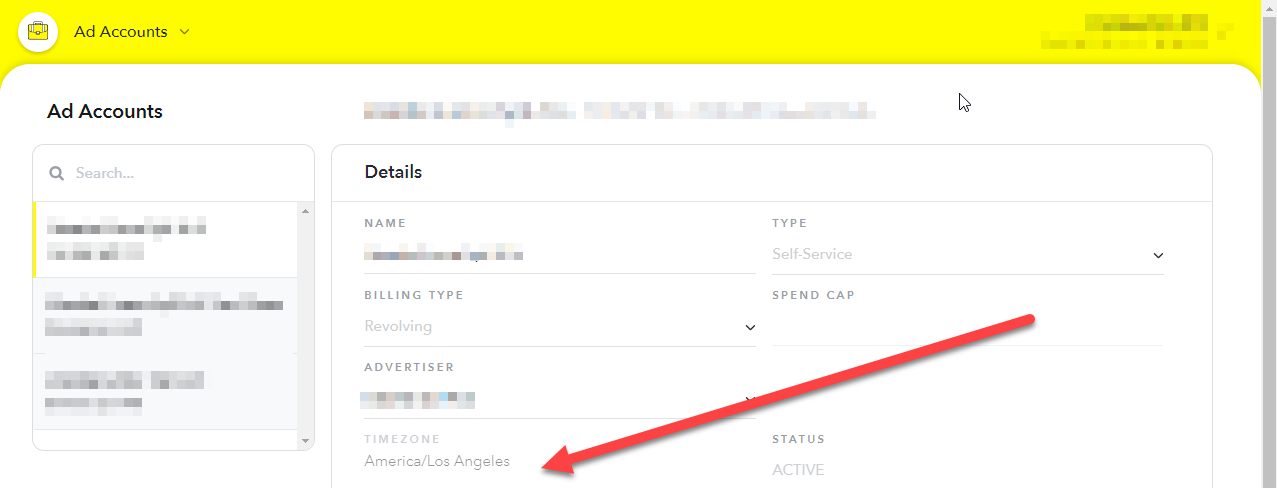
The time zone information HAS TO MATCH the time zone of the ad account, NOT the zone you are in!
Whether you get it from API or interface, you need to take that timezone string and look it up somewhere to get the UTC offset (-08:00 in this case).
But wait, what about Daylight Saving Time?
Be aware that Daylight Saving Time (needs to die in a fire, but that’s for another day/rant) WILL affect the current UTC offset!
Failure to account for DST and the effect on UTC offsets will get you this lovely error:
‘Unsupported Stats Query: Timeseries queries with DAY granularity must have a start time that is the start of day (00:00:00) for the account’s timezone. This account’s timezone is: America/Los_Angeles’
If your snapchat account is set to “America/Los_Angeles”, and you want to query data for January 1st, your date parameter should look like this:
2019-01-01T00:00:00.000-08:00
That is because on January 1st , the UTC offset in Los Angeles is -08:00.
However, if you want to query on April 1st, Daylist Saving Time is now in effect in LA, so the UTC offset is now -07:00!
What is not so documented here is, that you really want to prompt for consent (in case the user has already authenticated once) and you want to ask for access_type=offline